Introduction to Drywall Installation
Installing drywall, often referred to as Sheetrock, is a crucial step in any building or renovation project. This process transforms the framework of a house into finished, livable space. While it may seem like a daunting task to a beginner, drywall installation becomes more approachable with the right tools and a systematic approach. The goal here is not just to attach boards to studs, but to create smooth, seamless surfaces that will form the base for painting or wallpapering. A properly installed drywall can significantly improve the aesthetics, insulation, and soundproofing of a room.
Understanding the Importance of the Right Tools
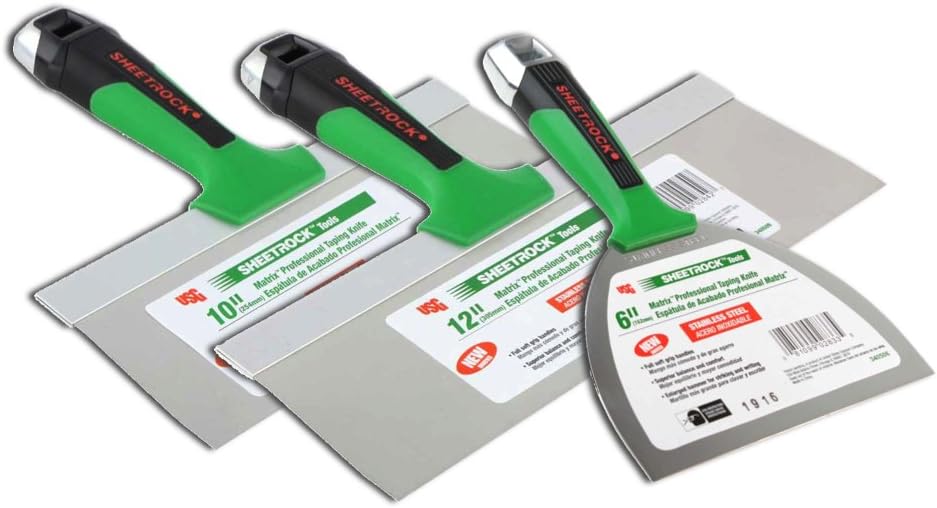
The quality of your drywall installation greatly depends on the tools you use. Without the correct equipment, even the most skilled installer can struggle to achieve clean, professional results. The right Sheetrock tools are designed to make each stage of the process smoother, from cutting and measuring to lifting and finishing. These tools not only enhance efficiency but also reduce the chances of errors. Investing in proper tools is essential for ensuring that your drywall is installed securely, evenly, and safely.
Preparing the Workspace
Before starting the installation process, it’s crucial to prepare the workspace. Remove all furniture and cover floors with protective sheets to avoid dust accumulation. Ensure there is adequate lighting, ventilation, and easy access to electrical outlets if power tools will be used. The surface where the drywall will be installed should be inspected for damage or moisture. Any issues with framing or insulation should be addressed beforehand. Taking time to organize your tools and materials will streamline the process and reduce interruptions during installation.
Choosing the Right Type of Drywall
Drywall is not a one-size-fits-all product. Different types are designed for various applications. Standard drywall is commonly used for walls and ceilings in most rooms, but moisture-resistant or mold-resistant types are better suited for bathrooms and kitchens. Fire-resistant drywall is essential in areas where extra safety measures are required, such as garages or furnace rooms. Thickness is another consideration; 1/2-inch drywall is standard for residential use, but ceilings may require 5/8-inch sheets for extra rigidity. Selecting the appropriate drywall type ensures longevity and optimal performance.
Measuring and Cutting Drywall Sheets
Accurate measurement is fundamental to a successful drywall installation. Begin by measuring the height and width of the wall where the drywall will be installed. Use a T-square and utility knife to score and snap the drywall along your measured lines. Make sure to leave a slight gap between the floor and the bottom of the drywall to prevent moisture absorption. Precision during this stage prevents unnecessary gaps and ensures a better fit. Double-check measurements before making cuts to avoid wastage and maintain consistency throughout the installation.
Attaching Drywall to the Wall Frame
Once the drywall is cut to size, it’s time to attach it to the wall frame. Start at the top corner of the wall and work your way down. Sheets should be positioned horizontally or vertically depending on your wall framing and preference. Use drywall screws to secure the sheet to the studs, placing them about 12 to 16 inches apart. Avoid overdriving the screws, which can damage the paper surface of the drywall. A screw gun with a clutch setting is ideal for maintaining the right depth. Proper attachment is essential for structural integrity and a smooth finish.
Securing Drywall Properly
Ensuring the drywall is tightly secured to the studs is crucial for preventing movement and cracking over time. Each screw should slightly dimple the surface without tearing the paper. If screws are not properly driven, they may pop out later or cause uneven surfaces. Adding extra screws around doorways and windows can provide added stability. It’s also important to check for any bowing or misalignment as you progress. Adjusting sheets as necessary during this phase will save time during the finishing stages.
Dealing with Corners and Edges
Corners and edges require special attention for a clean, professional look. Use corner bead for outside corners to provide sharp edges and protection from impact. These can be metal, vinyl, or paper-faced, and are attached with either screws or joint compound. Inside corners should be neatly aligned and taped using paper tape and joint compound. Careful work in these areas prevents cracking and gives the wall a polished appearance. Taking the time to ensure corners are straight and edges are flush will pay off during painting and decorating.
Applying Joint Compound and Taping
Once the drywall sheets are installed, the seams need to be concealed using joint compound and tape. Apply a thin layer of compound over the seams and embed the tape into it, smoothing it out to remove bubbles. After the first layer dries, apply two more layers of compound, each wider than the last. Allow each layer to dry fully before applying the next. Feathering the edges ensures a smooth transition between the drywall and compound. This step is essential for creating a seamless wall surface and preparing it for painting or wallpapering.
Sanding and Smoothing the Surface
Sanding is the key to achieving a flawless drywall finish. Once the final coat of joint compound has dried, use a sanding block or pole sander to smooth the surface. Work gently to avoid damaging the drywall paper. A light touch and circular motion help create an even texture. It’s often helpful to hold a light source at an angle to the wall to spot imperfections. After sanding, wipe down the walls with a damp cloth to remove dust before painting. Proper sanding enhances the overall appearance and ensures the surface is ready for final treatment.
Final Checks Before Painting
Before you start painting, perform a thorough inspection of the entire surface. Look for any missed spots, tool marks, or ridges. Fix any remaining imperfections with a bit of compound and sand again if needed. Check that all screws are properly seated and that there are no loose areas. It’s also important to confirm that the surface is clean and dust-free. Applying a primer coat helps seal the drywall and provides a uniform base for paint. These final steps ensure a professional-grade finish that will last for years.
Safety Tips During Drywall Installation
Safety should never be overlooked during drywall installation. Always wear safety goggles and a dust mask when cutting or sanding drywall to avoid inhaling dust. Use gloves to protect your hands from cuts and abrasions. When lifting and positioning sheets, use proper lifting techniques or a drywall lift to prevent injury. Make sure all power tools are in good working condition and follow manufacturer guidelines. Keeping the workspace clean and organized also helps prevent accidents. Prioritizing safety keeps the project on track and minimizes the risk of harm.
Common Mistakes and How to Avoid Them
Even seasoned DIYers can make mistakes during drywall installation. One common error is improper screw depth, which can lead to weak spots or visible screw heads. Skipping the use of joint tape can result in cracked seams over time. Inaccurate measurements and poor cutting lead to gaps that are difficult to hide. Rushing through sanding often leaves visible blemishes. Avoiding these mistakes requires patience, precision, and adherence to best practices. Taking the time to learn proper techniques makes a significant difference in the quality of your finished walls.
Certified Material Testing Products (Certified MTP) is a leading supplier of construction materials testing equipment and laboratory supplies in the United States. They offer a comprehensive range of products for testing concrete, asphalt, aggregate, soil, and cement, catering to both field and laboratory applications But no matter whether they are prefered or not, the whole idea behind these tools is similar: getting a polished, shiny, and permanent effect. New to stucco or a seasoned pro, investing in good tools and learning the nuances of their use is what will get you started perfecting your craft.
Conclusion
Installing drywall with the right Sheetrock tools is both an art and a science. While the process involves multiple steps, careful planning and the use of proper equipment can transform an empty framework into a smooth, ready-to-finish surface. From preparation to the final coat of paint, each phase plays a critical role in achieving a professional look. Whether you’re a beginner or looking to refine your skills, understanding the full scope of drywall installation ensures better results and a deeper appreciation for the craftsmanship involved. With dedication and attention to detail, anyone can master the process nfc business card of installing drywall with confidence.